...Or does it? Well as you know I like painting stuff, lots of stuff, all the time, but you realise once you venture into the world of furniture painting-there is a lot more to painting than just paint. Don't get me wrong, it's not on a par with brain surgery or travelling the galaxy; but there are things that you need to investigate if you want to get that all important "finish" to your lovely painted items...ah yes, I hear you cry-"the finish". But what does this actually mean? Well, as far as I am concerned, I want my pieces to not only look beautiful, but they need to feel beautiful and they also need to last-so all in all the "finish" is pretty important. Now, Annie Sloan sells soft wax which goes brilliantly with her paints. I have both the clear and dark wax. They are easy to use (too many different techniques for me to cover her) and they lock in the colour and make your furniture feel silky smooth. But I've been thinking recently that I needed more than a wax. Take my lovely wooden stool below as an example:

The white feet are a modern addition and while wax would certainly do them no harm, I couldn't help but feel that the white would start getting pretty un-white pretty quickly. But to be honest I was scared-granted not middle of the night, stuck in a wood, with no light or food and a werewolf on the loose-not that scared, but shall we say wary of turning my back on the soft wax and using a varnish instead. My memory of varnish was gloppy, hard to handle, sticky tar like substances that ruined brushes, were impossible to use and unless you were a seasoned expert gave you a messy finish. But I knew deep down that I needed to use a varnish, so I spoke to Ronseal and they suggested two products that may very well fit my requirements.

So my highly anticipated tins arrived and I was excited (and still a bit scared)! It was time to bite the bullet and start varnishing. Paintbrush at the ready I opened tin number 1 : Ronseal Interior Wax, a natural matt, wax finish - colour Natural.
I was skeptical, there is no way this is going to work-it's going to ruin my stuff with its super shiny, streaky finish and I was going to spend my life re-varnishing. So I bottled it and I decided to test my new tins on some painted spoons that I knew were in need of a nice smart "finish" instead.

Well, how wrong can you be about something? Turns out very wrong. From the moment I opened the tin I was delighted with it. It was fluid and not the slightest bit tacky or gloppy, it was smooth and silky. It was white in colour (I was scared again...) but then I remembered so are loads, in fact the majority of waxes and polishes, so I ploughed on undeterred.

The varnish went on incredibly easily, with even coverage and you could fill in any gaps easily. Spoon completed, I waited. I was a bit concerned that the varnish wasn't going to dry smoothly as you can see there are tiny bubbles on the pic on the right. Ha, I thought-here's the issue; I bet I have to wait 5 days now before I can move the spoon and when I do its going to look a mess. Um no, about 15 minutes and it was dry, even better than it says on the tin (Ronseal recommend 20 minutes, but I am very impatient). There were also absolutely no bubbles once dry.

As you can see the application was even throughout and it definitely did not look shiny. So a second coat and another short wait. The second coat did a really good job, but the tin recommends three, so three it was. I would definitely concur that three coats is required, the third one really makes the finish.
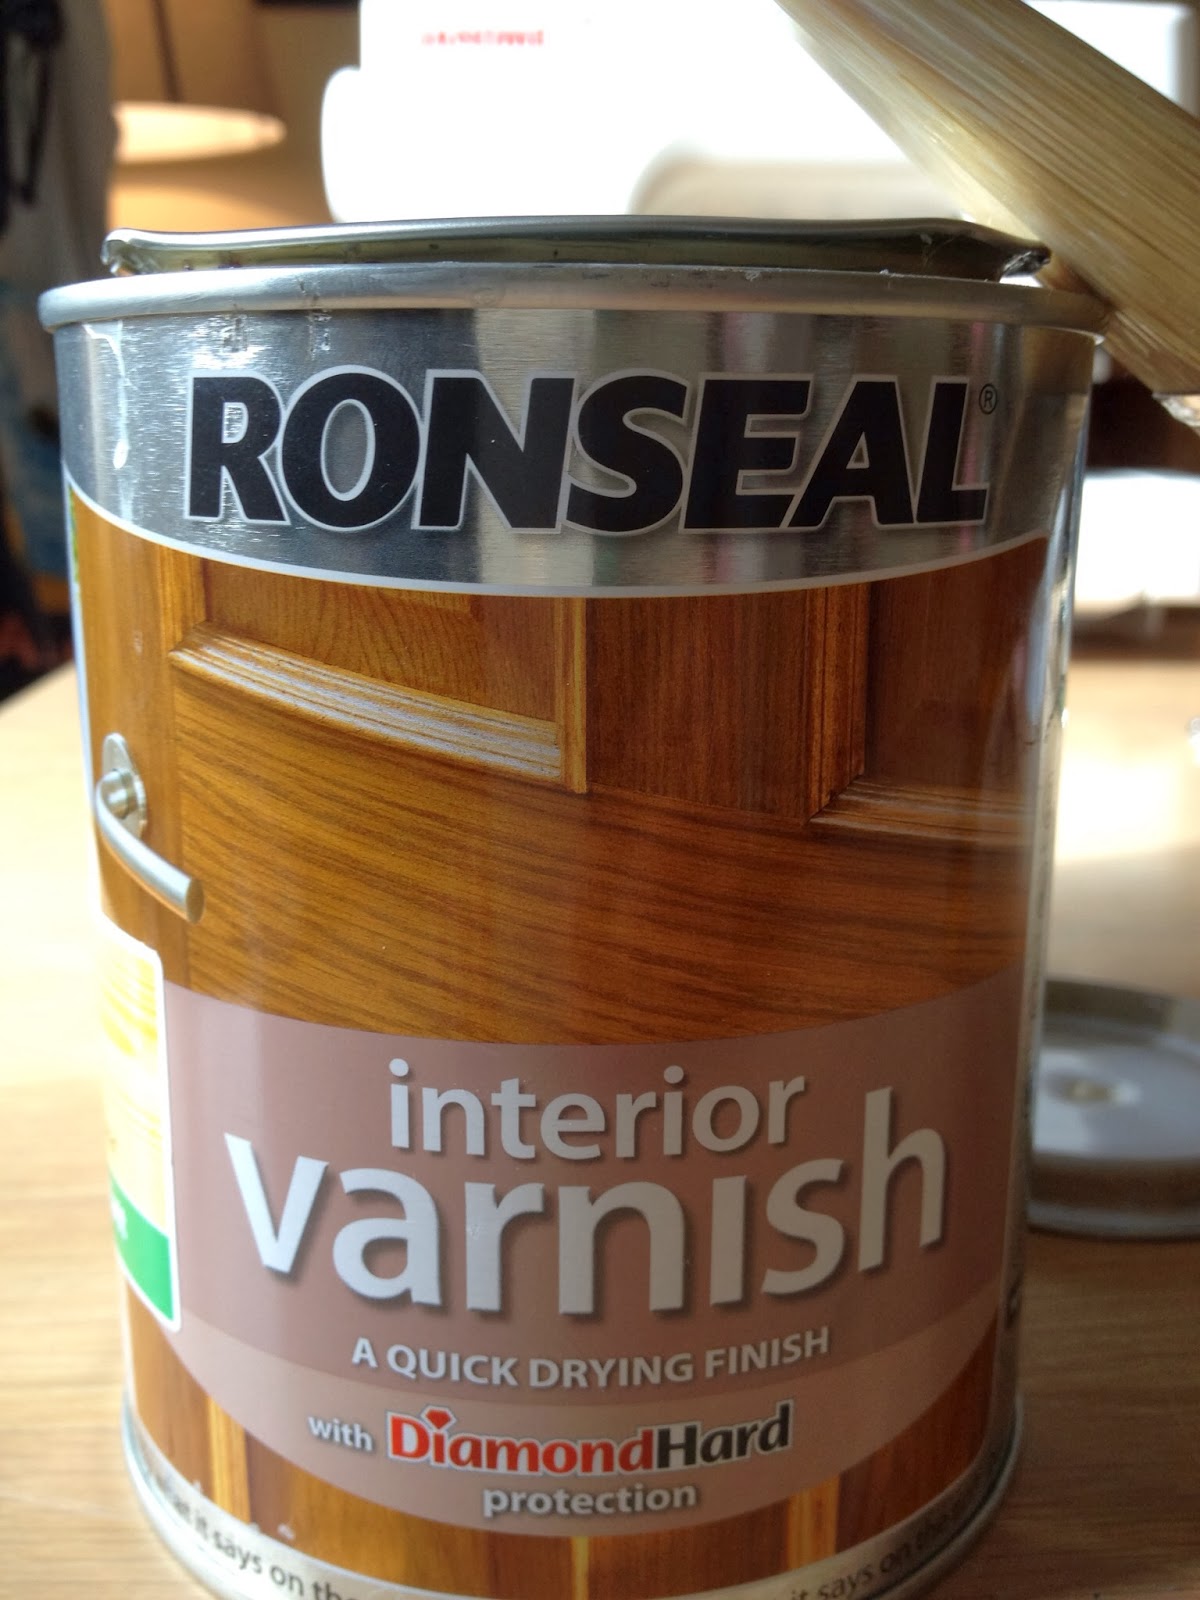
Having sat back for a while admiring my spoon I realised that while I was determined that I wanted a matt finish, rather than a shiny finish, I now in fact felt like my spoons would benefit from a higher gloss finish. Not in texture and feel so much but just to look at. So, drum roll please...it was time to try tin number 2 from Ronseal: Interior Varnish, a quick drying finish - colour clear matt.

I could not imagine that this was quicker drying than the earlier varnish, but it was worth a try. Once I gave the can a shake and popped the lid, it looks pretty identical to the wax, white in colour and smooth but not gloopy. Again it was easy to use and covers evenly and without bubbling or moving any of the paint underneath. With my earlier excitement somewhat more contained, I manage to wait for a whole 15 minutes for the varnish to dry and yes this too was touch dry. The finish after the first coat was not dissimilar to the wax, it felt silky and was matt to look at. I quickly applied a second coat to see if with an extra layer the finish was any different. The second coat looks pretty similar too if I'm perfectly honest. The tin for the varnish however says I need to sand before applying final coat. So I sand away and then apply third and final coat.

I leave it one hour this time before returning and I am really happy with the outcome. I've already braced myself for the fact that this varnish is a clear matt version, so it is not going to be highly glossed and therefore I should not be disappointed if it is still matt looking. However, the finish is not as matt as the wax that I had first used and as you can see from the pics it is very smart. You can see the difference on this photo, its not enormously obvious, but there is a difference and for my spoons I think I'm happier with the varnish than the wax. What you can't really see on the photos (I apologise I need to get better at taking pics) is just how lovely the varnish makes them feel. The finish is very silky and just plain lovely.
For spoons I think trying a non-matt, glossy version of Ronseal's interior varnish would give you a glossier finish, which would look amazing. But I realise that most people are not really hunting the earth for spoon specific varnish! The interior wax was really very good - far better than I had expected. It was easy to apply, quick to dry, didn't need sanding and looks and feels very similar to the far more time consuming (and more expensive) soft wax. The finish is perfect for most shabby chic, country style, repainted furniture and quite frankly I cant fault it in terms of cost or effort.

On balance there are still going to be many occasions when finishing my pieces that I will still grab for the soft wax; mostly when I want to achieve really aged and vintaged looks. However, if I want a finish that feels silky but is just harder wearing than the soft wax I would thoroughly recommend Ronseal's Interior Wax, with a natural matt finish - it does exactly what it says on the tin!
Having thoroughly put the tins through their paces I decided it was probably time to actually start using it on my stool, so I've included the finished pic of my stool with the Interior Varnish used on the legs.
Having thoroughly put the tins through their paces I decided it was probably time to actually start using it on my stool, so I've included the finished pic of my stool with the Interior Varnish used on the legs.